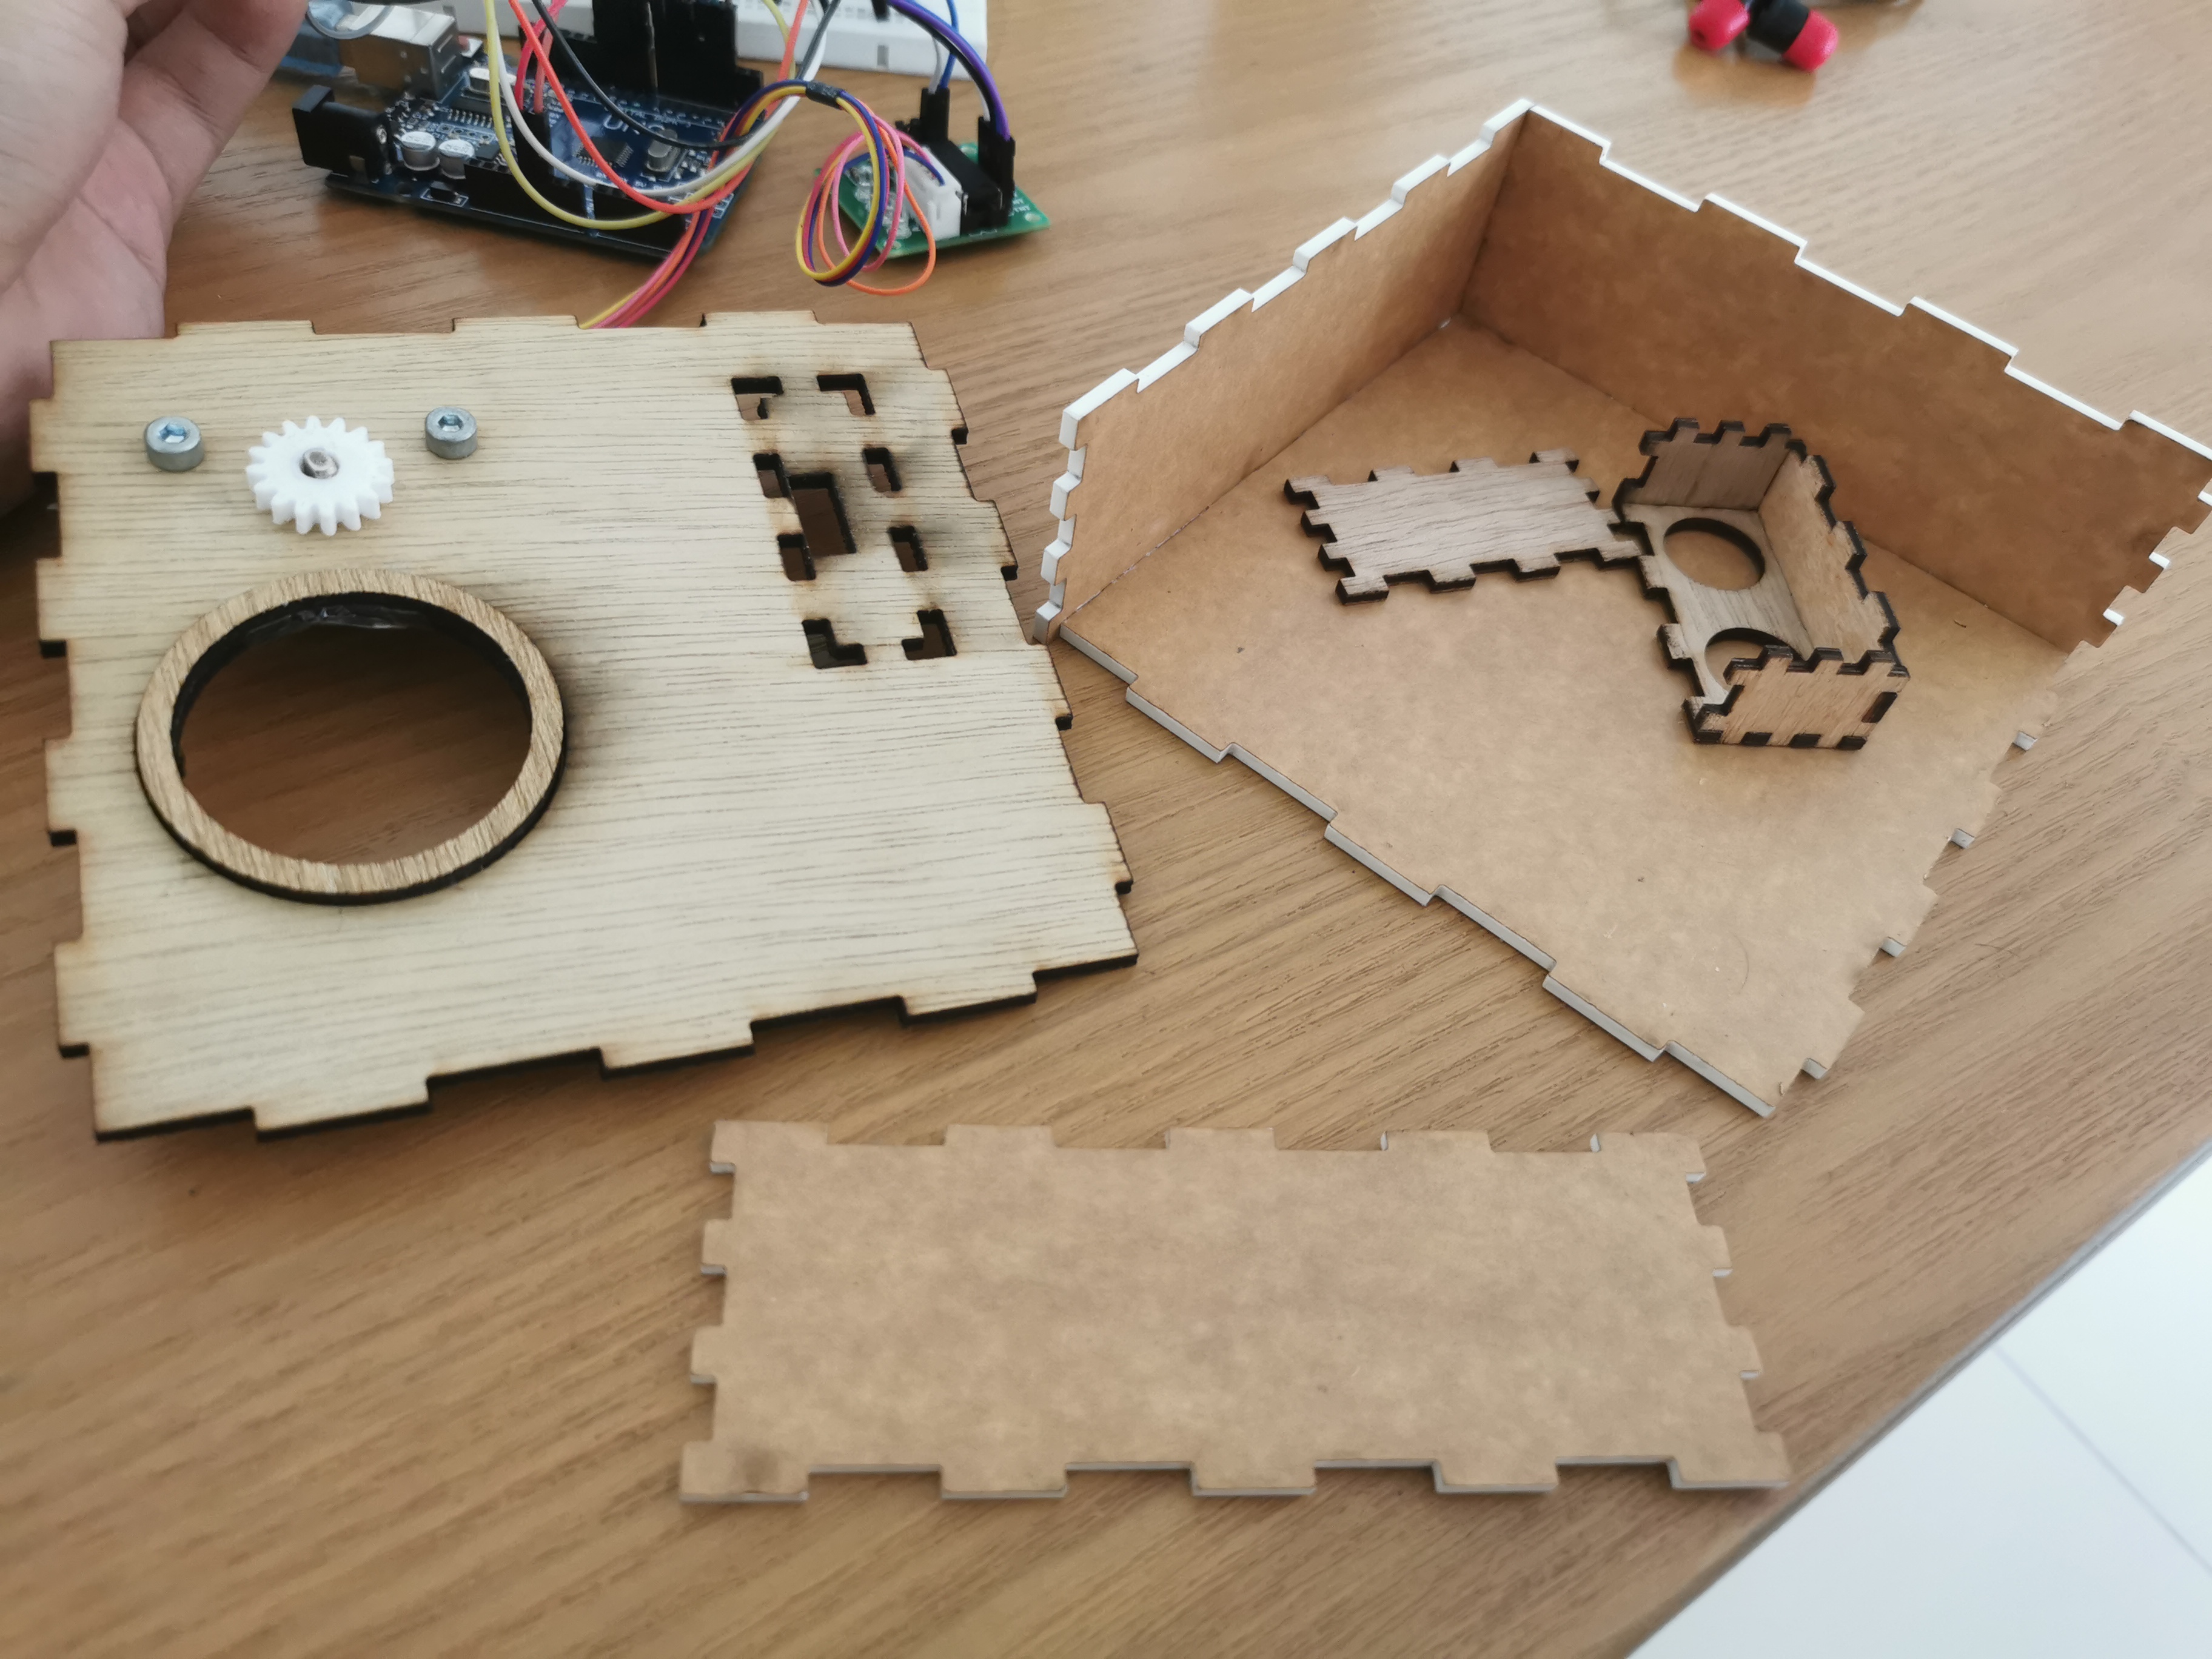
Parts to laser cut: Lampbox, Ultrasonic sensor box.
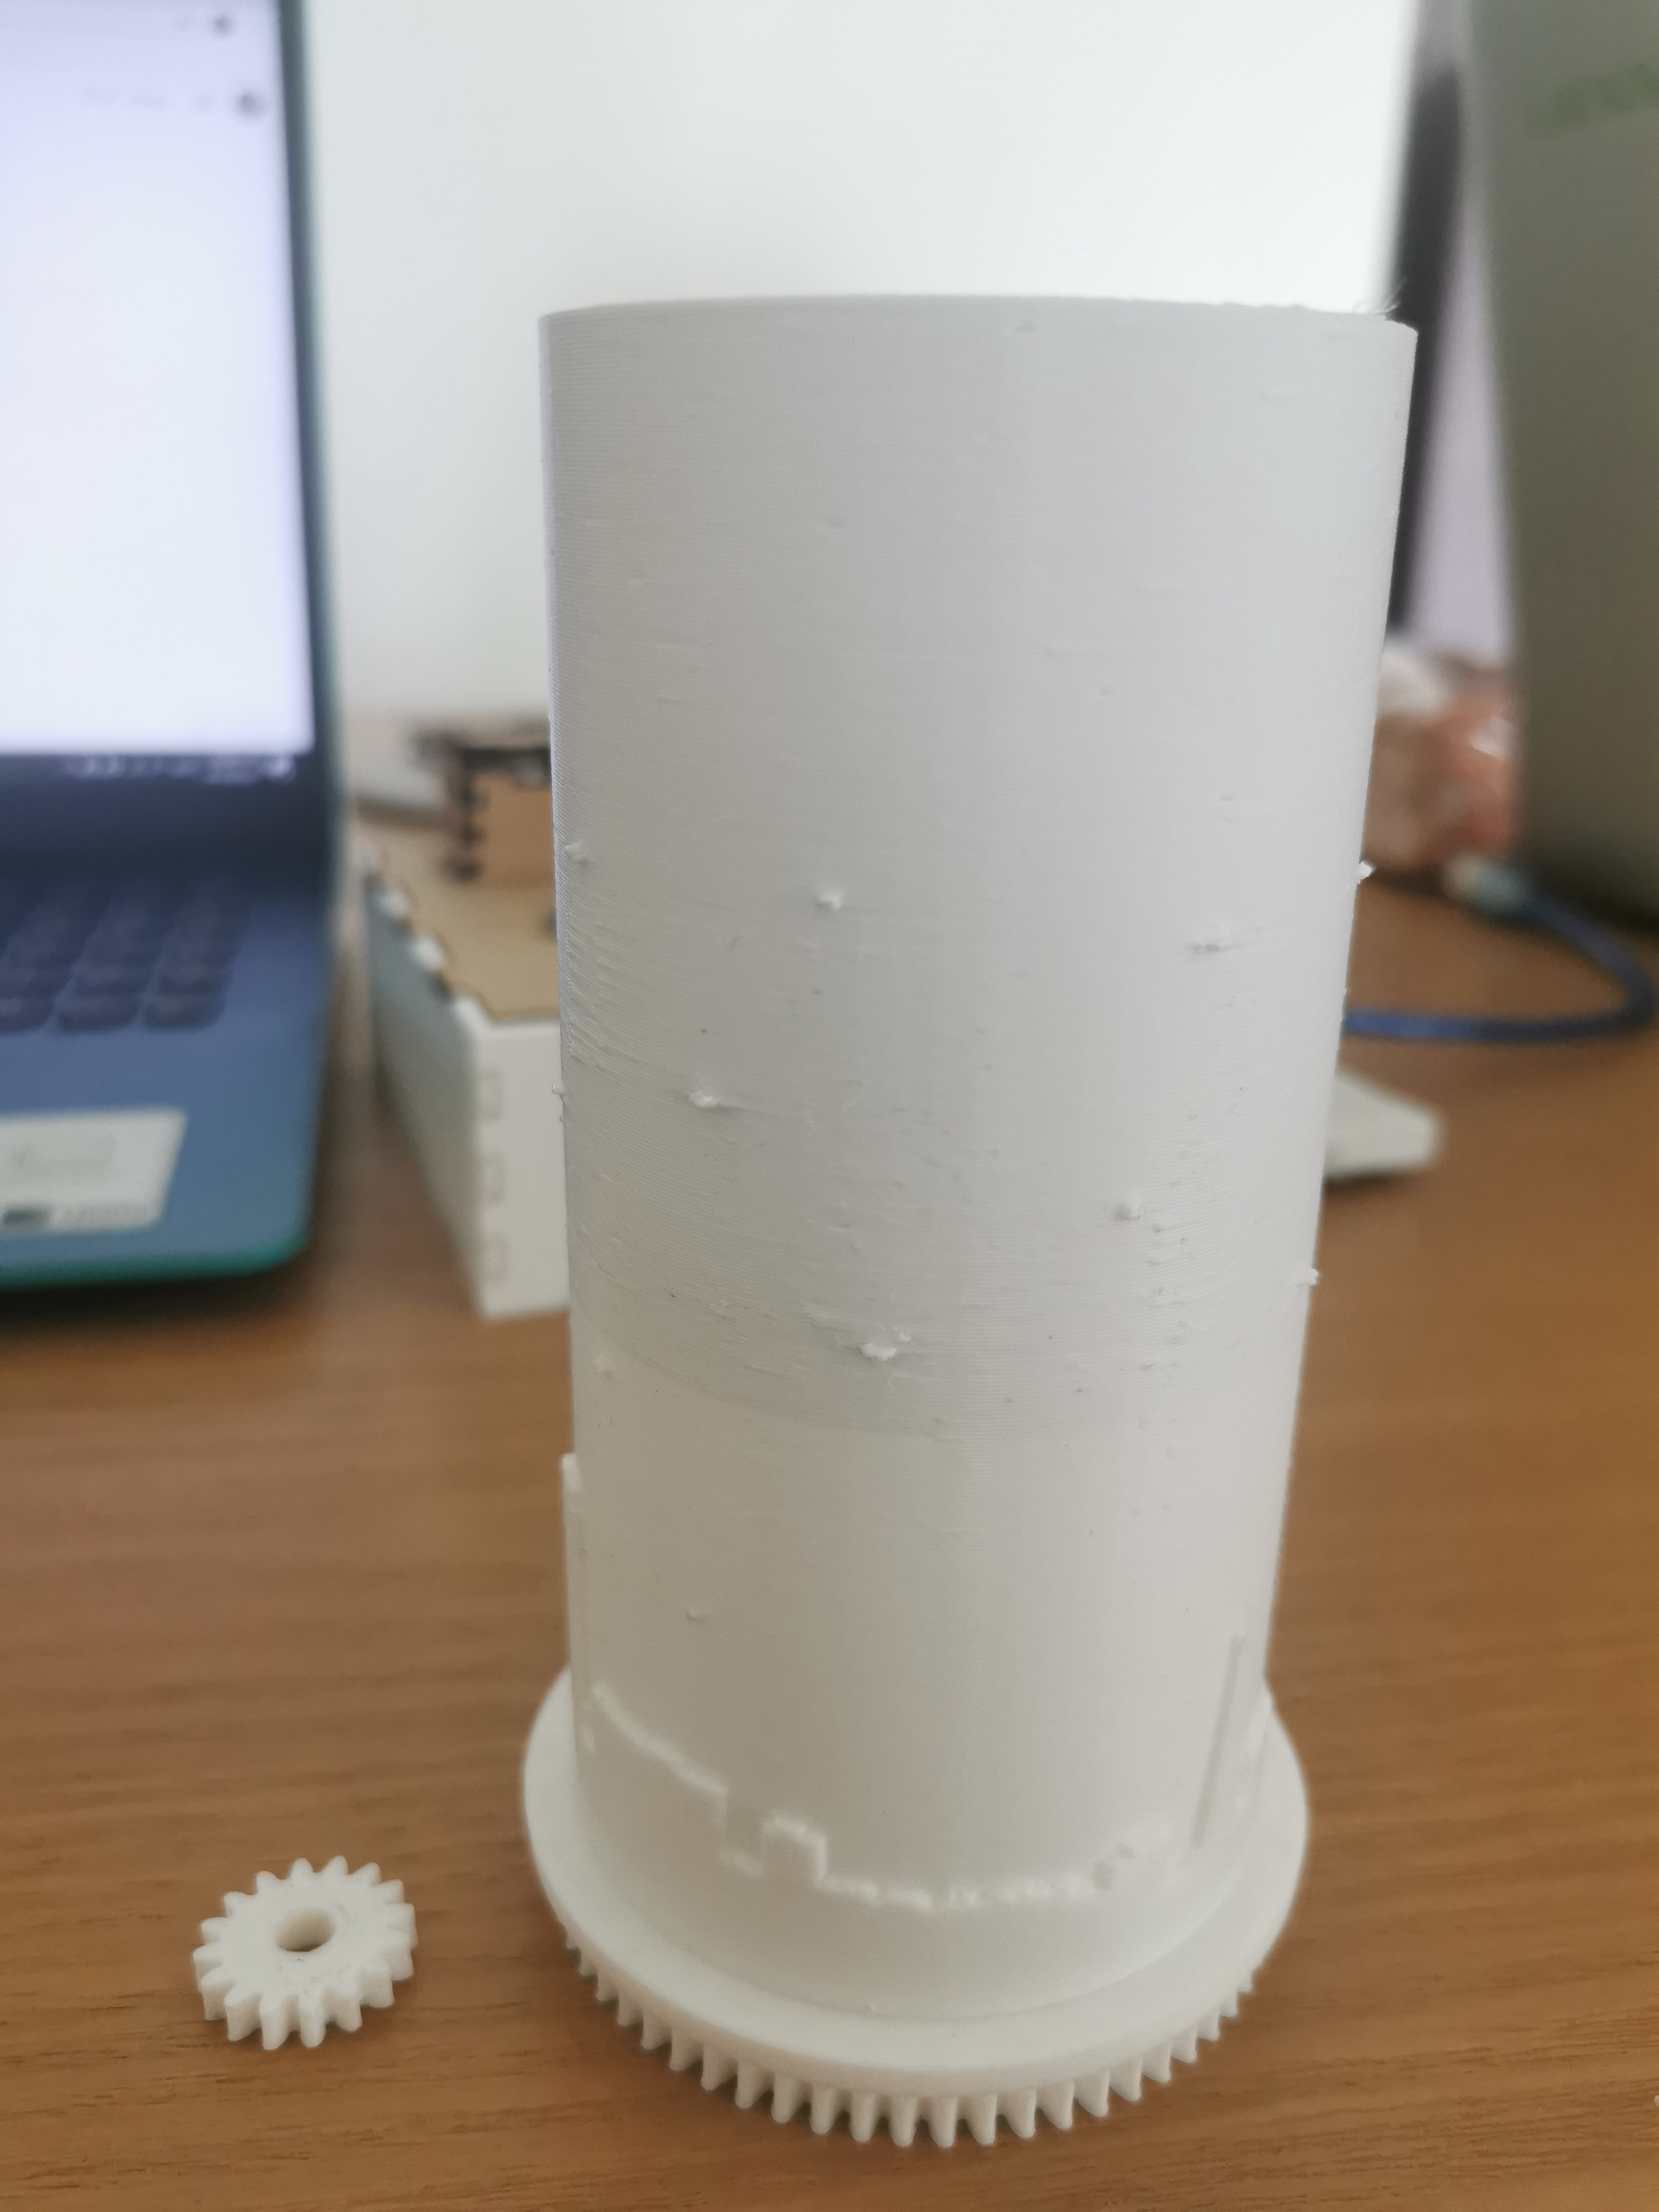
Parts to 3D print: Modified gears, lampshade holder, lampshade
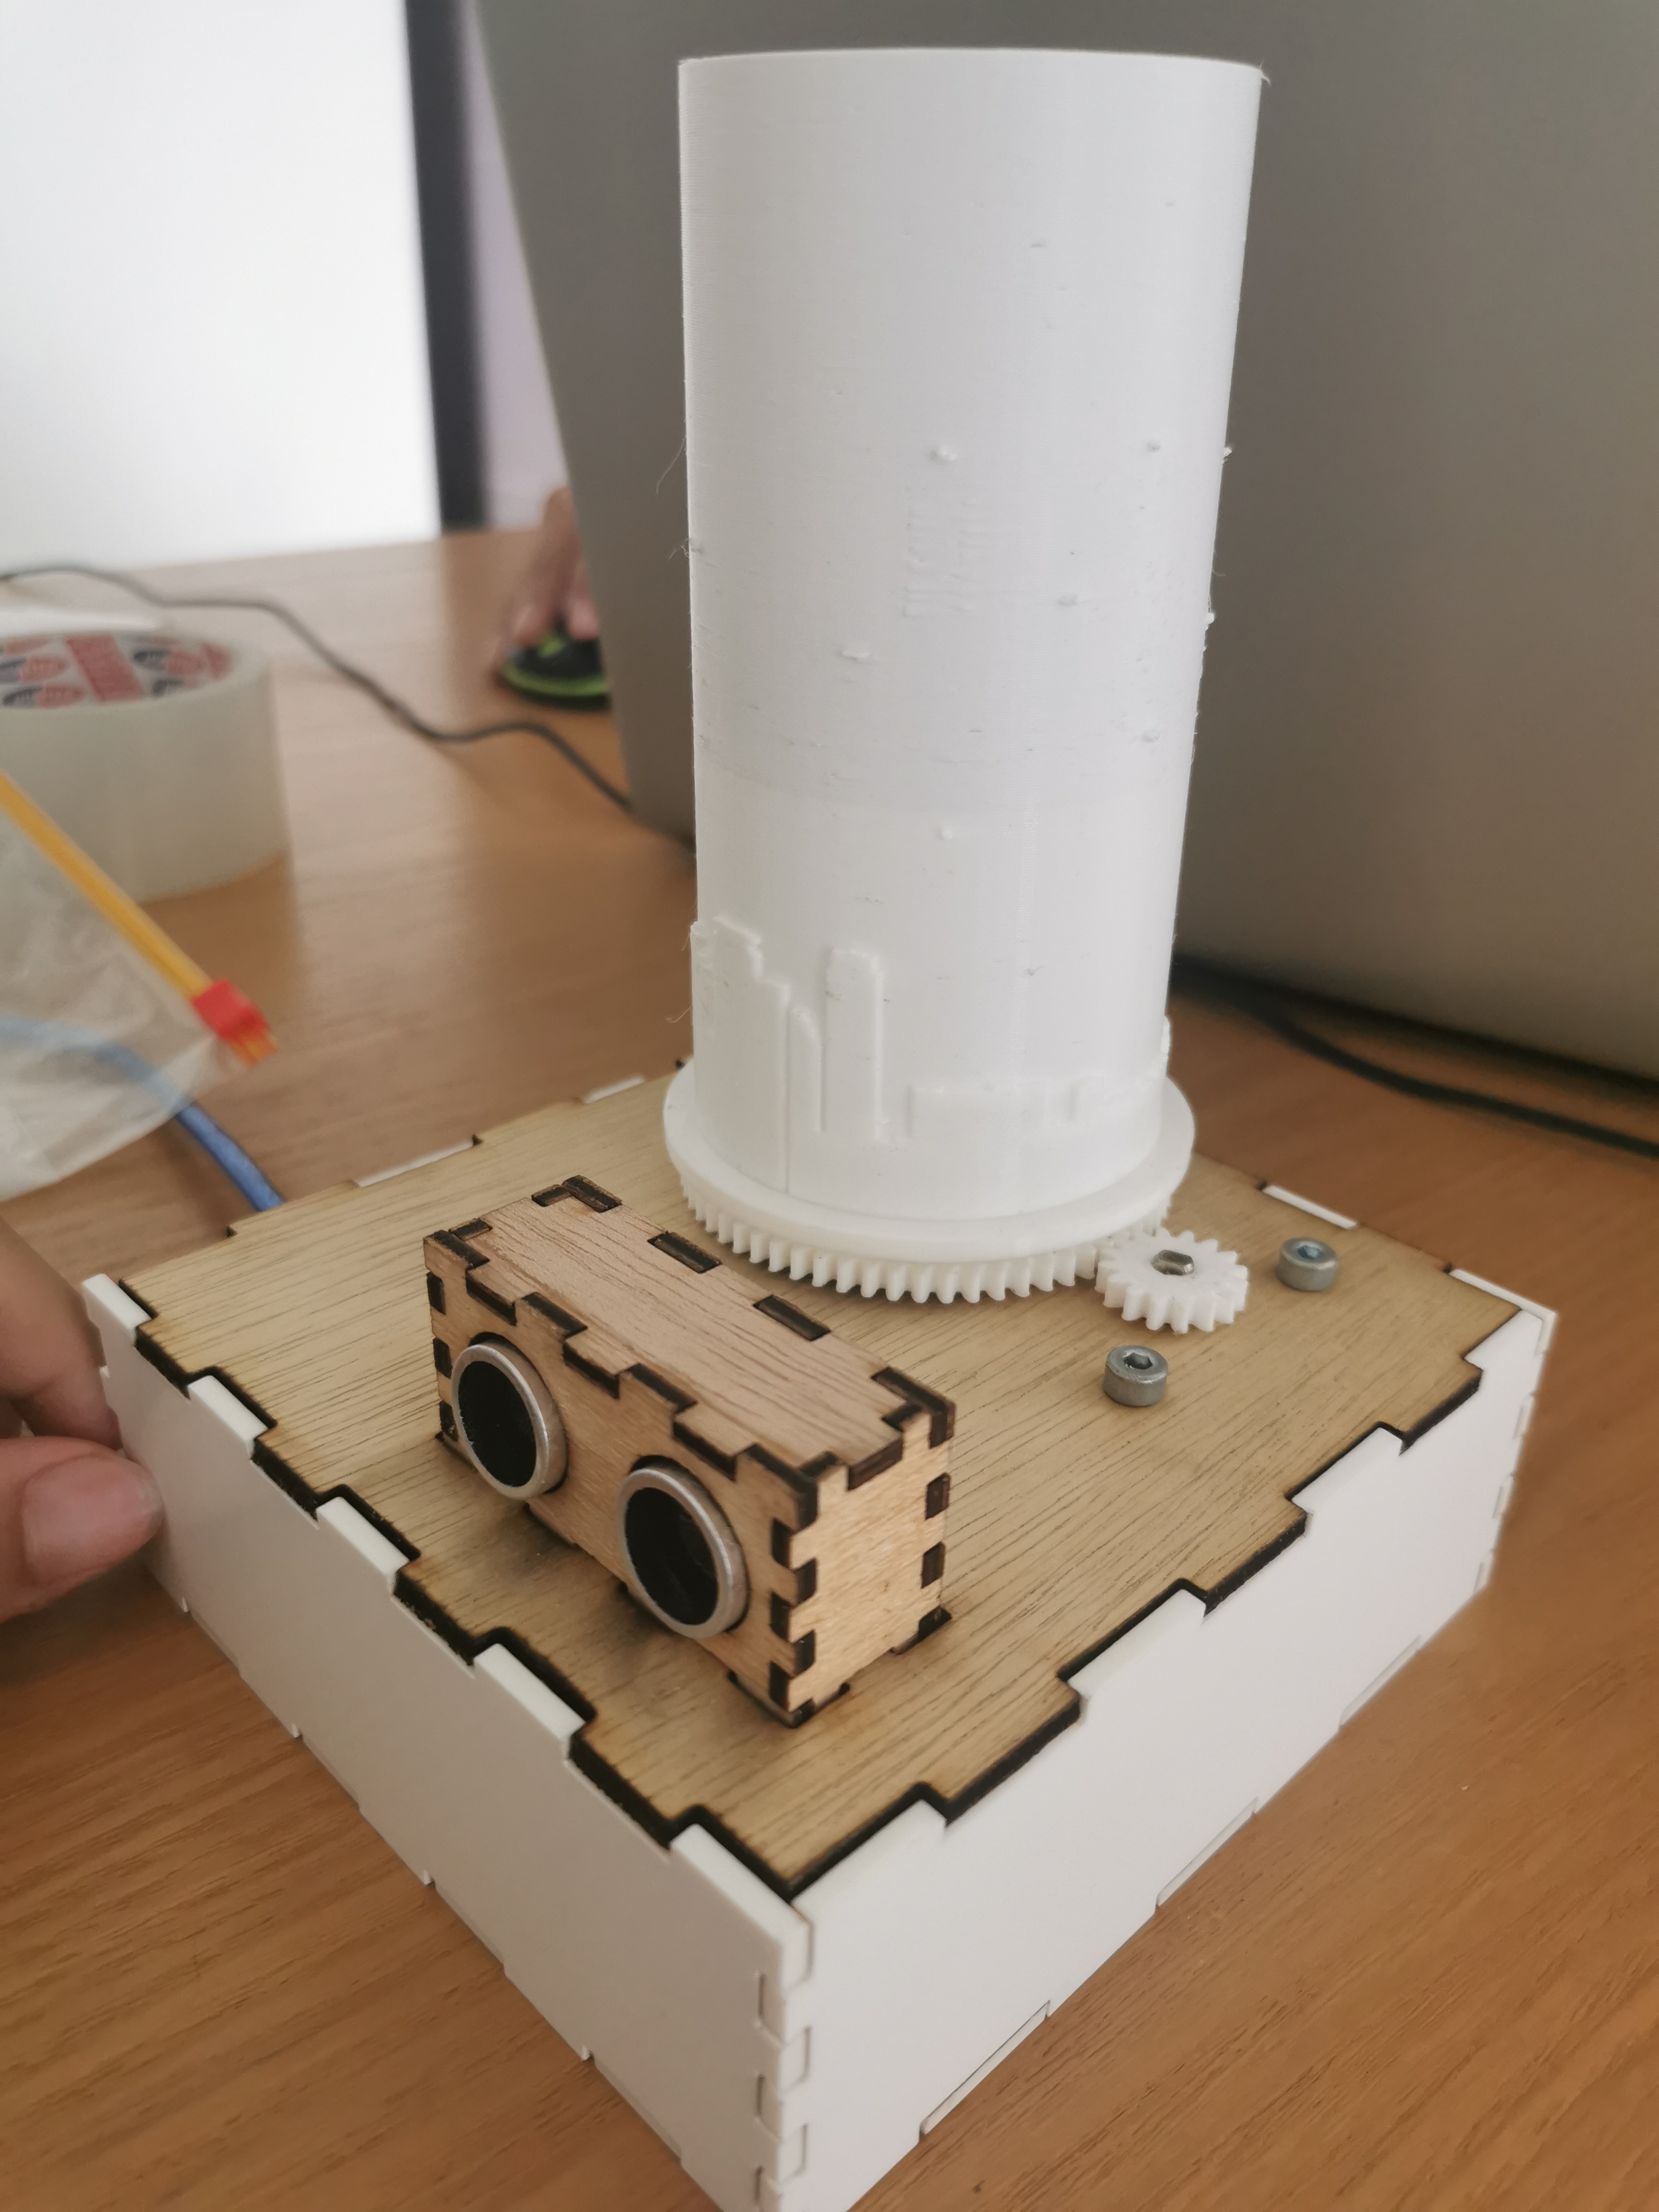
After complete cutting and printting, assemble all parts together
Holes to place the motor use M4 and nuts to lock the motor
Codes and Original Design
All design are manually created except download uses such as motor, breadboard and arduino board to check the sizing.
Such steps is necessary in order to measure the diameter or distance to create the model which this could prevent error in design that causes 3D_priting or laser cutting again (tolearance also be needed)