WEEK 7
Laser Cutting
Intro to Laser Cutting
Obtaining DXF profiles from Fusion 360
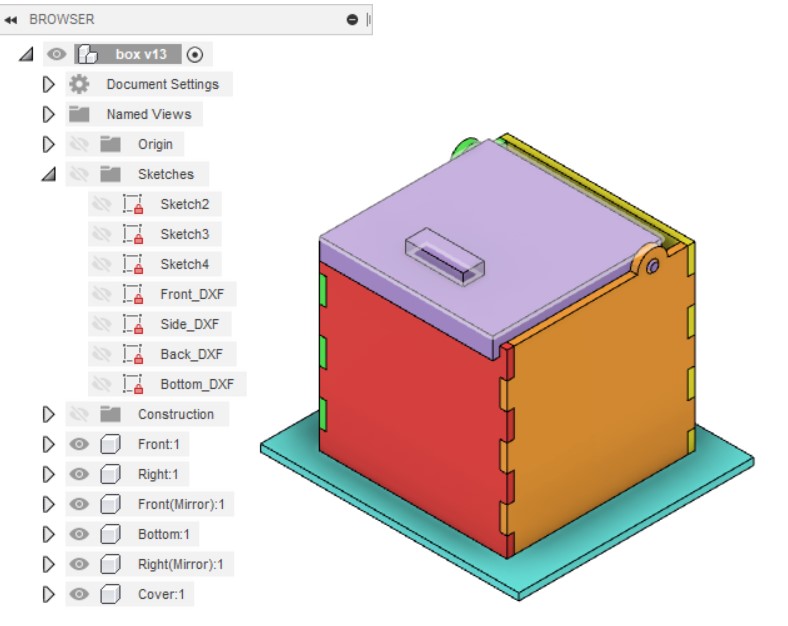 |
Open your design in Fusion 360. In the Object Browser, expand and show the bodies/component list. If you have multiple components, make sure that the root or top-most object is selected |
 |
Select the body which you want to extract the profile. turn off the bodies which are not of interest In this case only the FRONT component is selected Click onto the body surface to select the sketch plane and create sketch |
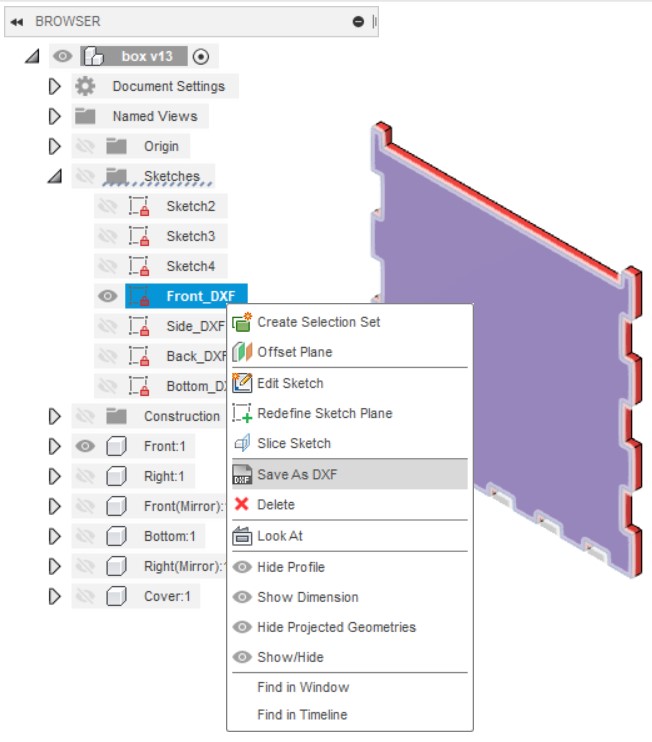 |
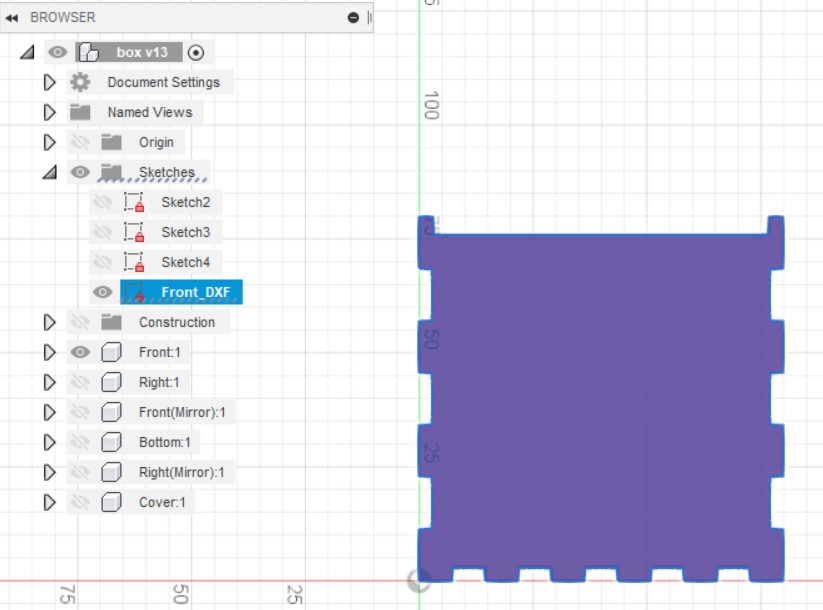
1. Create > Create Sketch 2. Select(L-Click) the body surface to select the sketch plane. 3. Important Click again on the profile (it should turn BLUE), showing you the sketch profile. 5. Click FINISH SKETCH 6. Your sketch should be located in the Object Browser > Sketches 7. Select “Finish Sketch” 8. Rename the sketch to identify it (e.g. FRONT_DXF) 9. Right-click on the Sketch FRONT_DXF 10. Select the Save As DXF Option |
Checking layout and prepare for Laser Cutting
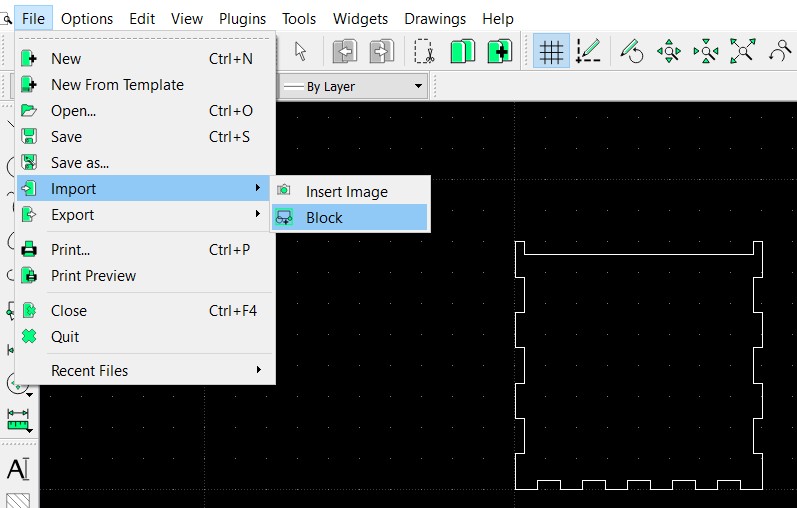 |
LibreCAD LibreCAD is an open source CAD drawing program. You can use it to create 2D profiles and save it to DXF files. It’s default file format is .DXF 1. In LibreCAD, open a new drawing File > New 2. Use File > Import > Block and select your .DXF file. 3. Keep adding the profiles. You can layout your laser cut profile using this software. 4. Remember that any line/graphic drawn will be cut out by the laser cutter. 5. Check your profiles, save your work as another DXF file e.g. layout.dxf 6. You can do a single import into CorelDraw. DXF file for laser cutting of box design |
Laser Cutting
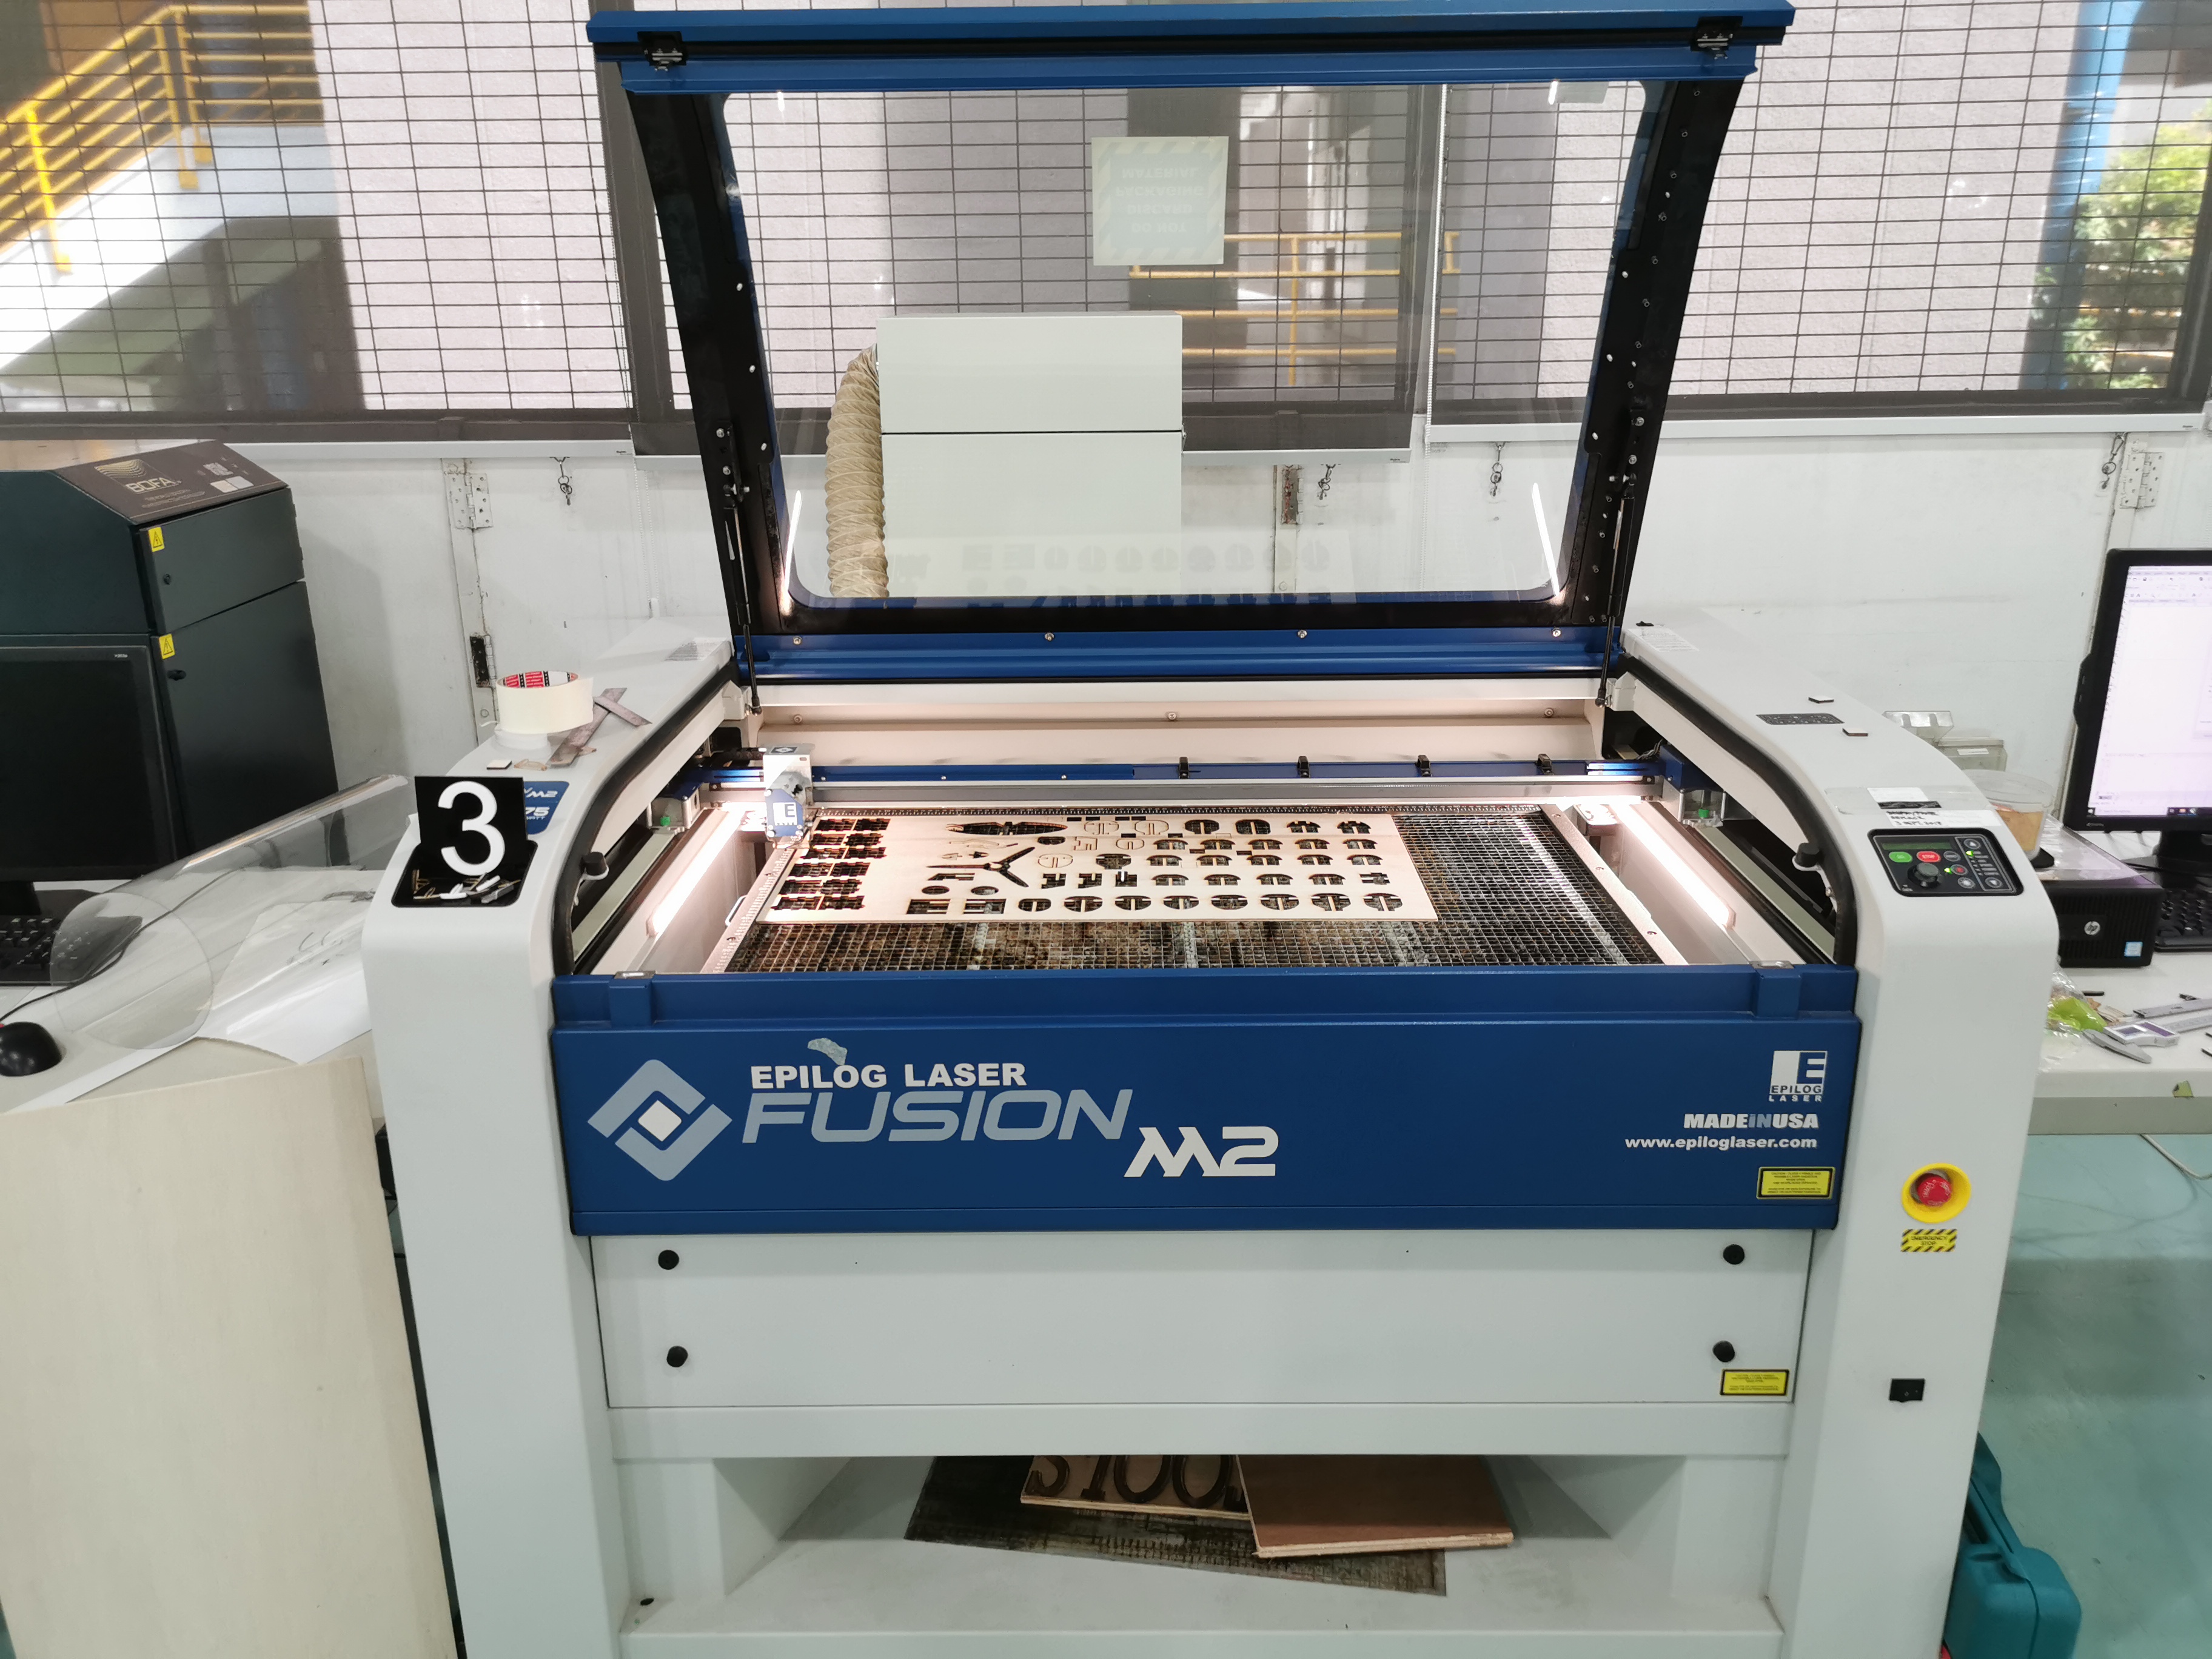
 |
Settings before printing 1.Import the DXF file that contains the layout of the box which should have completed before arriving (File > Import) 2. Use File > Import > Block and select your .DXF file. 3. Ensure that the units are Metric and the Scaling is 1:1. Select the lines that are meant to be cut as "Hairline". 4. Click print once you are ready to do so, and click "Configure" to set the Power, Speed and frequency for Vector and Combined seperately. |
 |
Settings before printing 1. On the laser cutter, use the arrow keys to select the different functions 3. Press go with cover being open up to check the cutting preview (When cover is up, press go will not start cutting; When cover down, press GO will start cutting) 4. Once finish checking, may move down the cover and start cutting. |